I'm finally working again on the warrior trike. I had to make an adjustment in the right front arm. The bottom of the right front wheel was too far in. After that, had to work on the steering and brake support mounts.
This is a view with the frame standing vertical so you can look at the steering from the bottom.
These are the paper and wood mockups that I made before making the metal brake-support mounts.
Trying out the wooden support and adjusting it to sit flush ... before using to model the metal support.
From the bottom view, this is the brake on the left ... after it was cut off and re-welded on the first time. I had to cut it off, adjust position, and re-weld a 2nd time so the disc wasn't hitting the brake with those high points.
From the bottom view, this is the brake on the right. It was re-welded twice as well ... for proper disc placement. I'll take a final photo of them later.
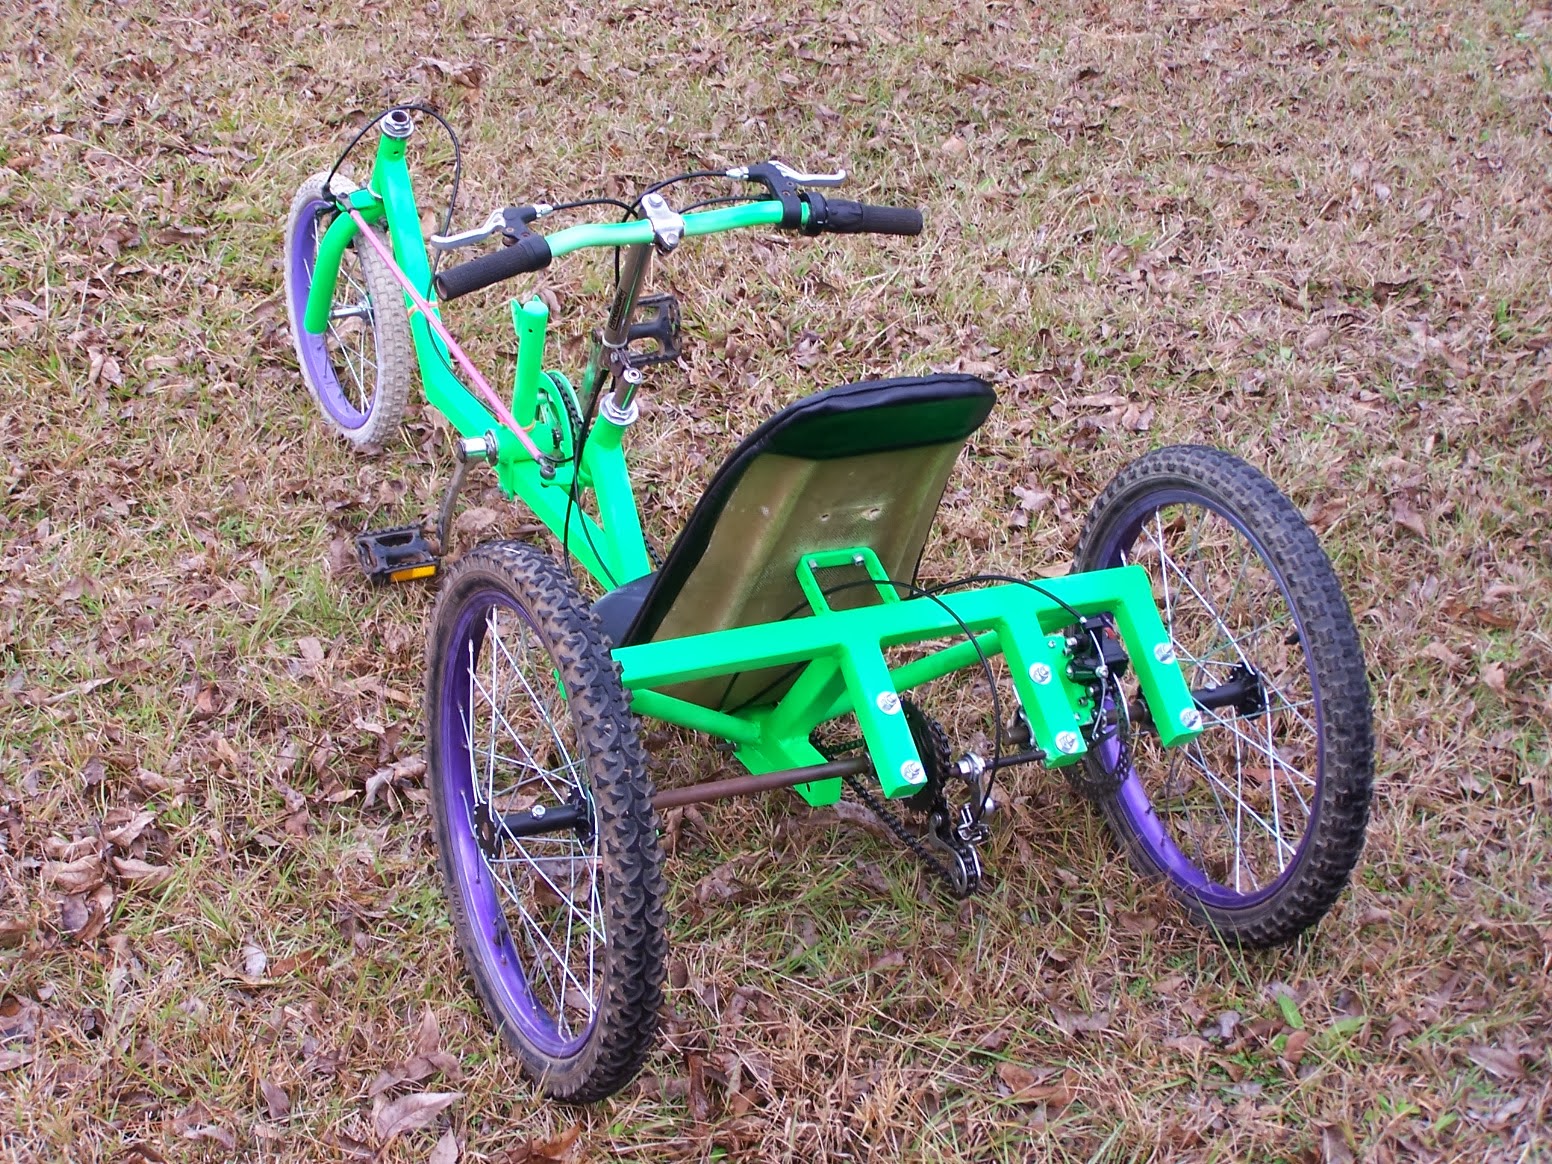
A rolling frame with foam on the wooden seat. No chain, brake levers, or cables. So, next up is the drive train (chain, derailleur, idler pulleys ...).