Showing posts with label hub. Show all posts

Tuesday, May 6, 2008

Hub & Welding

The drill jig I made up was designed so that when you slide the finished hub onto the axle shaft ... line up the drilled holes ... the shaft end is flush with the end of the hub.


Here's a quick shot of the MIG welder that I am using. I have a large roll of flux-core wire inside ... that feeds out when I squeeze the trigger. I am not using an inert gas (like CO2 or Argon) ... just the flux-core wire. It does splatter a bit (little beads of excess wire) that usually wire-brush off ... or can be knocked off with a file. And they leave little brown burned speckles all over my wooden workbench top. Which is why welders usually top their workbench with 1/2" plate steel ... to which you can "tack" parts to keep alignment before welding them up together. To get your finished piece off the table ... just grind off the "tacks." And use the portable hand-grinder to smooth the workbench top.

Step 2

WEARING A LEATHER WELDING GLOVE ... I pull the welded pipe & washer off the rod ... slide the next washer down the rod to the top of the vise ... invert the welded section ... and slide it down onto the rod (so it looks like the foto at left).

NEXT IMPORTANT STEP: slide a spoke or straight wire down through the spoke holes you drilled in the top washer ... set the end down directly in between two adjacent holes on the bottom washer ... and rotate the upper welded section until the wire or spoke is perfectly vertical (and still centered between the two bottom holes).

GENTLY attach ground clamp to exposed rod (so you don't move the vertical alignment) ... and make your first weld. Then check that things are still lined up as they should be (otherwise you have to grind it loose and weld it again -- correctly). Now proceed to finish welding as in Step 1.

Step 1 ... after drilling & countersinking

I had a piece of 5/8" rod left over that I clamped in the vise ... the important thing was to check it from all sides with the square ... just to make sure it is vertical to the vise top.

Then I slid one of the washers down the rod to the top of the vise ... followed by a 3-1/2" length of the black pipe (note pilot hole already drilled through the pipe).

I then clamp my welder ground to the top of the exposed rod ... and weld the washer to the pipe ... starting on this side ... then going to the direct opposite side ... and then alternately welding the ones in between ... until I have at least 8 welds connecting the pipe and the washer.

Friday, April 18, 2008

Need Longer Spokes


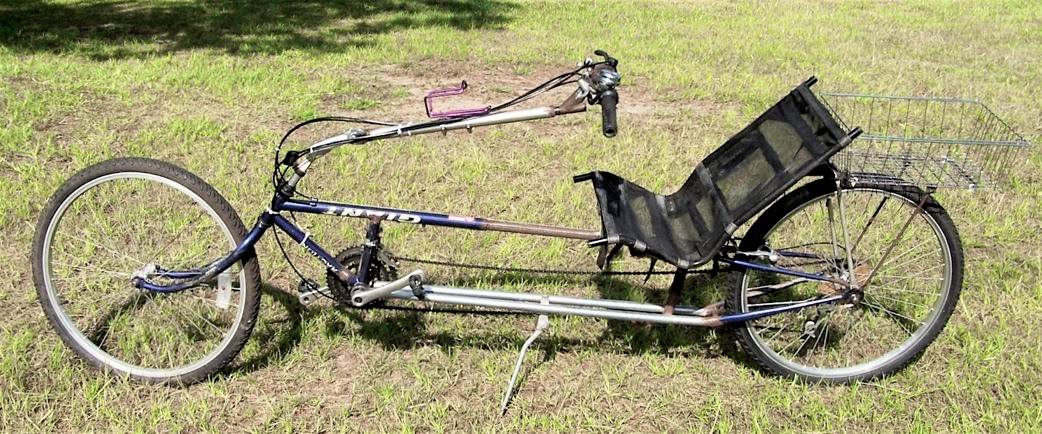
There is something wrong with this picture ...

Notice the nipples in the rim ... which means there are some spokes attaching the rim to the hub ... but the hub extends well below the rim (it's the black pedestal in the middle) ...

I need longer spokes. Guess I'll have to visit the local bike shop ...

It looks pretty good from a top view -->
However, ...

Tuesday, April 15, 2008

2 x 20" Hubs

After great lack of motivation ... I finally drilled and countersunk all the holes in the AN970 washers to make the hubs. I then developed a streak of rash bravery ... and welded up the hubs. It was pure dumb luck that the first one came out with the holes alternating each other (end-to-end). The 2nd one, both end washer holes were lined up ... darn! It's wonderful to remember these things after they are welded.

So I put the cutting disk on the hand grinder and cut one of the end washers back off ... adjusted it so the holes were alternating opposite of each other ... and welded it back on. I'll probably get it right the first time ... on the next set of hubs that I make ... for the 26" wheels.

Saturday, April 12, 2008

How to mark holes?

I dismantled the rear hub ... which has a large ring on each side (it's just pressed on) ...

So when I tapped the ring off ... I discovered (to my delight!) that it was almost the identical size of the AN970 Washers that I bought from Aircraft Spruce.

I just laid the ring on the washer ... used one of those fine point Sharpie markers thru each of the spoke holes ... giving me a washer like the one on the bottom. Then I used a needle punch to mark them for drilling.

Hey! This is progress!

Thursday, March 13, 2008

Removing Inside Seam


To get rid of the seam on the inside of the pipe ... I started with my Dremel tool and a small grinding stone. I went back and forth across the seam to cut it down. I did this from both ends. Then I used this monster-big rattail file that is about 5/8" in diameter to wear down the ridge in the part I couldn't reach with the Dremel. When the file slides easily thru from either end ... it slides beautifully onto the axle bar.

Seam Inside Black Pipe


The 5/8" axle won't fit thru the pipe due to this seam on the inside ... otherwise it is a very close fit ... an even better fit than the AN970 Flat Washers that I bought from Aircraft Spruce (got a package of 10 washers).

Measure Twice ... cut once

I've got my handy square set at 3.5" (or 3-1/2" for those decimally challenged). Then I squat down to look directly at it as I set the tube cutter for the 3.5" length of pipe needed to go between the washers to make the wide removable hubs for the rear wheels.

Black Pipe


In order to make hubs for the rear wheels ... so they are removable ... you start with black pipe. You can get this at Lowes or Home Depot in the Plumbing Section. I got mine at Lowes. Click on the image to see a close-up. It is listed as being 1/2" black steel pipe. And comes in various lengths. I got a 30" length because I intend to make 3 sets of hubs and a couple of widgets that will bolt to the axle to hold the disk for the disk brake.