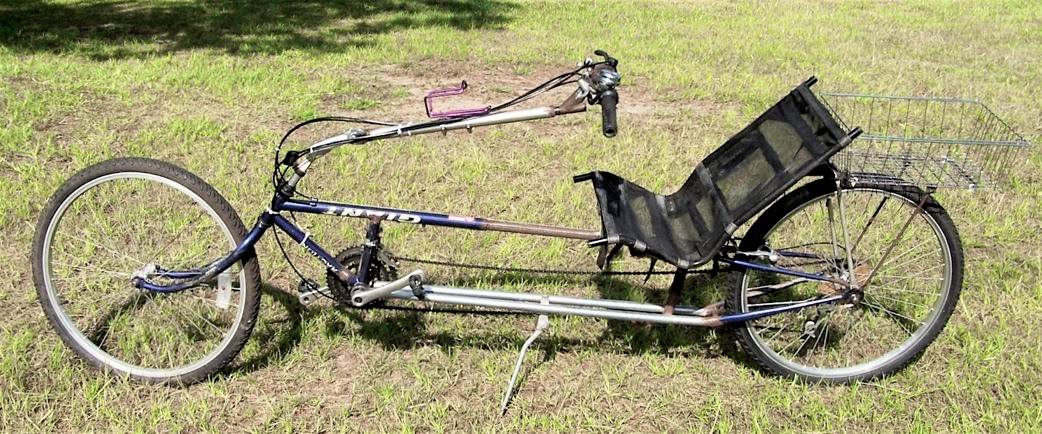
I finally welded on 4 cable stops and 2 cable guide rings. I've heard that the less overall cable housing you have, the less friction. So I figured to eliminate the length up behind the seat back. And on the underside of the rear fork. Here are the photo segments starting at the rear wheel.
Notice the wire under the rear fork.
Here's the run paralleling the seat back. I used a small length of cable housing to bridge up to the rear fork.
The cable housing runs behind the idler pulley and through the 2 guide rings ... then up the right handlebar.
Here I'm attempting to show the full length of the cable run. I think I've got it adjusted so it will shift the full run of the gears. I need to bolt the seat back on, set the foam pieces on. And test ride it up and down the street. Once it is fully functional ... then it will be time to strip it all down and paint it. sigh. :-)
Showing posts with label derailleur. Show all posts
Showing posts with label derailleur. Show all posts
Monday, February 17, 2014
Friday, May 22, 2009
Further Along, but ...

There it is with a mesh seat cover, rear derailleur, and crank & pedals on the front. Almost looking like a real recumbent.
The new owner has a 28-inch inseam ... which places the seat up very close to the steering stem. AND, he wants the seat almost vertical. It is tilted back just barely enough for the chain line to clear the bottom of the seat fabric. HOWEVER, I can just barely squeeze in between the seat and the steering stem. And getting back out (getting the bike to drop down off me) is very difficult ... it would almost be easier to flop over sideways onto the ground and crawl out (OUCH!).
SO, I have to do something about making a tilting steering mechanism.

Here is the rear derailleur attached to the dropout.
There are two other smaller holes that I had to tap threads into for use of the seat stays and a possible future rear rack or Golden Eagle gasoline engine.

Here's looking at the threaded holes from the inside of the frame.
Rear Derailleur Tap

The Big Box stores around here don't have taps.
You need a tap to cut the threads in the 8.5mm hole that the rear derailleur threads into. It is a 10mm tap ... however, not just any 10mm tap will do. The upper tap in the foto is 10mm x 1.5mm (I didn't know what the thread count on it was since it isn't marked, so I tried it on a piece of scrap metal ... too course for the derailleur threads). At this point I searched the internet and on Sheldon Brown's site it specified that the tap had to be 10mm x 1.0mm. I went to the nearest BIG city (I live in a tiny town with cows) ... where I found an industrial hardware store ... that just happened to have the bottom tap in stock (this saved me about $6 difference from the cost of buying it and having it shipped from Amazon.com).
The new tap worked absolutely fine. I tapped the hole in the dropout and attached the derailleur.
Subscribe to:
Posts (Atom)


