I watched TV today more than working on the cables. With the shift levers on the front of the handlebars, I had to turn them way inward so they wouldn't hit the tires. And then they were running into the frame and hitting my leg on tight turns. So, I turned the brake levers outward. I mounted the brake cables. Then adjusted the front shifter cable. Still pondering how I am going to mount the rear shifter cable.
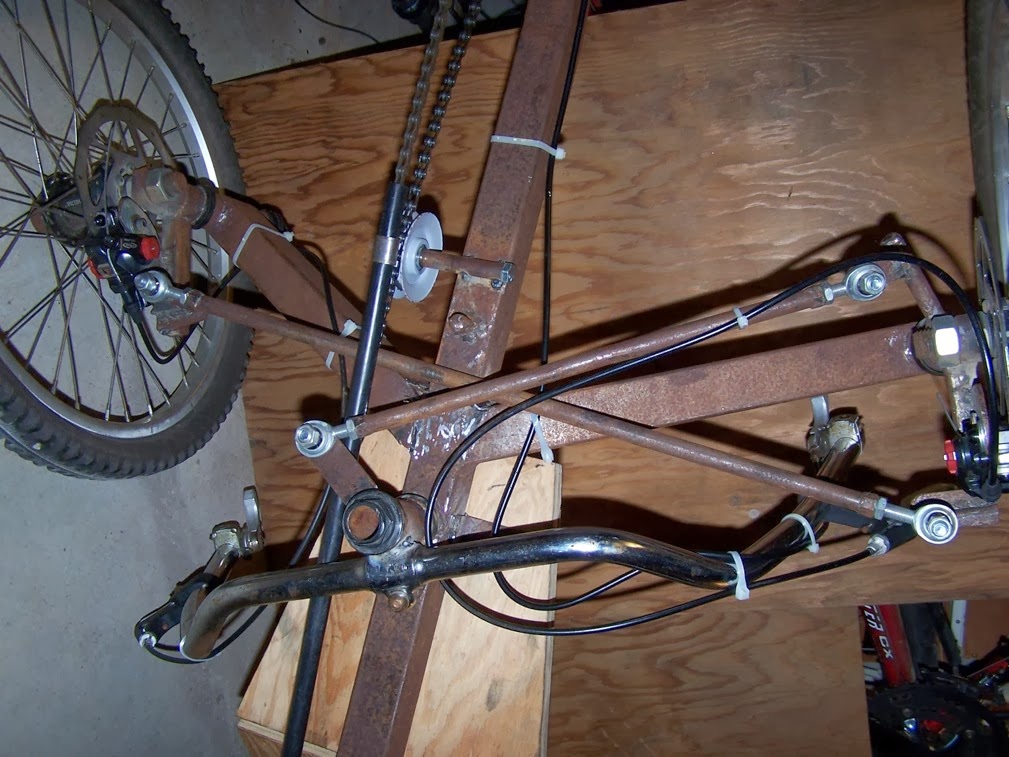
Here's a topview with the levers positioned and the cables mounted.
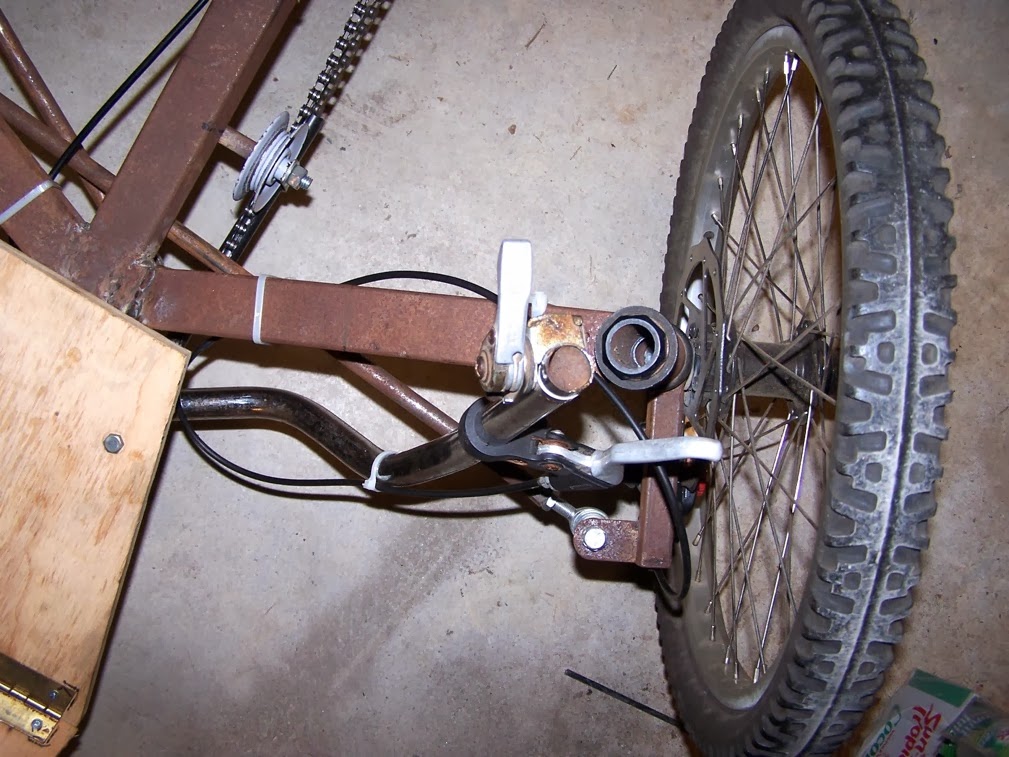
Here's a bottom view showing how I routed the cabling.
This is showing how I ran the cabling up to the front shifter. I didn't have a handy cable stop to weld on so the cable would clamp. So I took this ring that does the same thing off of another bicycle. It works fine.
This is showing that the brake levers clear the tires by about 3/4". You'll notice that I ran the brake cable over the top of the right arm. I found that if I attempted to attached it to the bottom of the arm, the loop tended to push into the spokes.
This is showing the left bar all the way forward.
This is the right bar all the way forward.
Here's a top view showing a hard left turn. All cables functioned without problems in neutral and extreme positions ... no binding. Tomorrow I need to pull the seat and the rear pulley off so I can weld on some chain stops and cable guides.