I'm starting with my workbench and rotating 360 degrees to the right.
This is my workbench. Drill press on the left. Vise and mig welder on the right. I'm using flux core wire, no gas. On the lower shelf to the left is my 4-1/2" hand grinder. It makes the welds look good.
Between the bench and the cabinet on the right ... mostly smaller front wheels.
Additional parts and tool storage. I even have a bicycle maintenance book!
Here is a TE Clone (upside down), a couple of parts frames, and a stack of rear wheels.
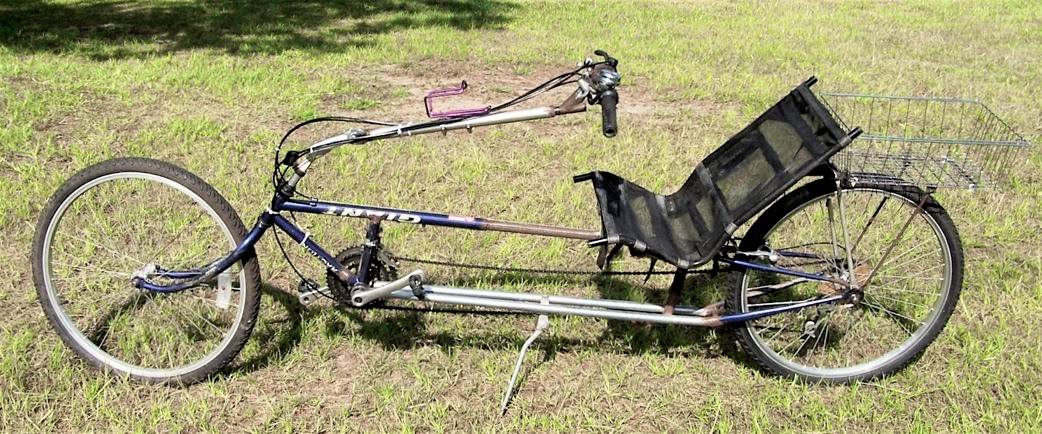
On the left, my warrior trike frame (upside down). A Sun SWB Speedster. And a SWB Bentech (upside down).
Boxes of cut up parts, a wind chime, and a couple of wheels.
A cargo trike and a couple more donor bikes. (not seen in the background is a LWB Mach3.
A Long-Tom cargo bike that still needs the steering bar to be bent and hooked up to the front wheel.
There are a few more frames hanging around, but that is about it for my current crop of "projects".
Showing posts with label cargobike. Show all posts
Showing posts with label cargobike. Show all posts
Friday, February 7, 2014
Tuesday, September 6, 2011
Cargo Bay
I put in 1/2" EMT support bars in the cargo bay area
to provide more even support under the thin plywood decking that I intend to attach in this area.
In conjunction with all the tubing underneath,
This area should support a fair amount of weight.
If the wheels can support it, that is.
I've placed my entire 250 lbs standing vertically on this area and the only sag I noticed was in the front shocks and front wheel.
Here's what it looks like at this point. Next step is the steering.
Saturday, April 16, 2011
The Cargo Bay
I'm working on the cargo bay for the Long-Tom. Tom thinks that only 24" wide is good for going through doorways. I decided to go with 26" wide. I only wasted a bit of EMT tubing in the process of figuring out How to get each side 13" wide with two 90° angles and a total length of 23" (or 23-1/4"). Once I had two of those that matched, I put them on the floor and welded them together. Then cleaned off the welds with the grinder. I centered the frame, clamped it in place on the bicycle frame, and tack-welded it into place.
You'll notice that the cargo frame isn't exactly flush with the bicycle frame.
So there will be a slight backward slant to the floor.
However, it butts up against the bottom of the top tube
and firmly up against the headset tube in the rear.
It's not going anywhere.
This is looking at the bottom of the cargo frame ...
before 45° braces were installed.
There it is out in the sun with handlebars.
You can also see the 45° support bars that I welded to each end of the cargo floor.
Oh yes, I cleaned and re-greased the bearings for the bottom bracket and put the crank back in.
HOWEVER, I don't yet have the steering rod attached ...
Which makes the bike a little awkward to move around.
(the handlebars just spin
and the front wheel goes any which way)
Wednesday, August 27, 2008
Mexican Cargo Trikes
 In SoCal, they are very inventive ... they get used or cheap Mtn Bikes and modify them for use as cargo bikes. The frame is welded up from 1/2" square tubing ... with two 26" front tires. The cargo box is welded to the front fork in 2 places and welded to the handlebars as well. They don't usually carry more than 50 - 100 lbs. (max 50 Kg).
The box sits up high for easy vending. They vend fruits, peanuts, cotton candy and various other items throughout the Spanish neighborhoods.
I had hoped to get a foto of one of these ... and two of them showed up this morning at Jack's bikeshop. By means of a little English (one of them), a little Spanish (me), and some sign language ... I helped Jack figure out what they wanted. Basically one trike needed the rear brake pads replaced and the brake cable fixed. Maybe I should get together with my neighbors and find out what the Spanish words are for the various parts and conditions of the bicycle. That might help Jack and I in the future.
Subscribe to:
Posts (Atom)


