I'm starting with my workbench and rotating 360 degrees to the right.
This is my workbench. Drill press on the left. Vise and mig welder on the right. I'm using flux core wire, no gas. On the lower shelf to the left is my 4-1/2" hand grinder. It makes the welds look good.
Between the bench and the cabinet on the right ... mostly smaller front wheels.
Additional parts and tool storage. I even have a bicycle maintenance book!
Here is a TE Clone (upside down), a couple of parts frames, and a stack of rear wheels.
On the left, my warrior trike frame (upside down). A Sun SWB Speedster. And a SWB Bentech (upside down).
Boxes of cut up parts, a wind chime, and a couple of wheels.
A cargo trike and a couple more donor bikes. (not seen in the background is a LWB Mach3.
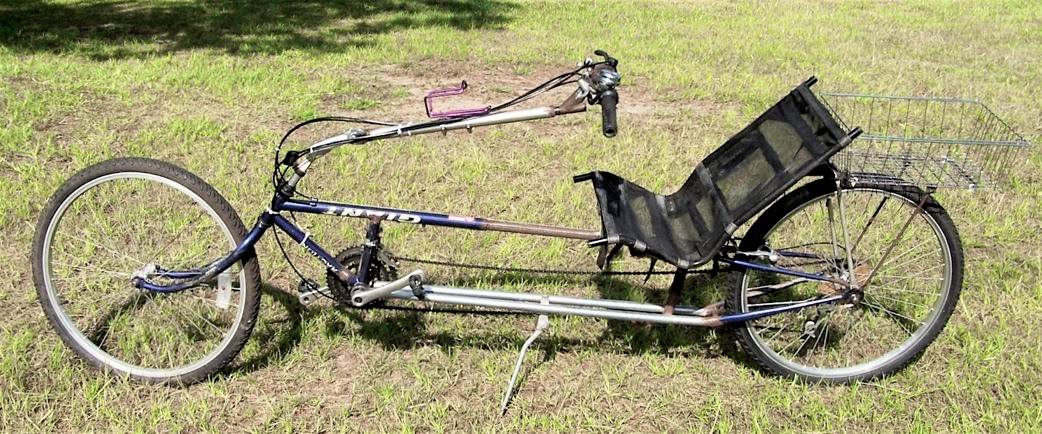
A Long-Tom cargo bike that still needs the steering bar to be bent and hooked up to the front wheel.
There are a few more frames hanging around, but that is about it for my current crop of "projects".
Showing posts with label Long-Tom. Show all posts
Showing posts with label Long-Tom. Show all posts
Friday, February 7, 2014
Tuesday, September 6, 2011
Cargo Bay
I put in 1/2" EMT support bars in the cargo bay area
to provide more even support under the thin plywood decking that I intend to attach in this area.
In conjunction with all the tubing underneath,
This area should support a fair amount of weight.
If the wheels can support it, that is.
I've placed my entire 250 lbs standing vertically on this area and the only sag I noticed was in the front shocks and front wheel.
Here's what it looks like at this point. Next step is the steering.
Saturday, April 16, 2011
The Cargo Bay
I'm working on the cargo bay for the Long-Tom. Tom thinks that only 24" wide is good for going through doorways. I decided to go with 26" wide. I only wasted a bit of EMT tubing in the process of figuring out How to get each side 13" wide with two 90° angles and a total length of 23" (or 23-1/4"). Once I had two of those that matched, I put them on the floor and welded them together. Then cleaned off the welds with the grinder. I centered the frame, clamped it in place on the bicycle frame, and tack-welded it into place.
You'll notice that the cargo frame isn't exactly flush with the bicycle frame.
So there will be a slight backward slant to the floor.
However, it butts up against the bottom of the top tube
and firmly up against the headset tube in the rear.
It's not going anywhere.
This is looking at the bottom of the cargo frame ...
before 45° braces were installed.
There it is out in the sun with handlebars.
You can also see the 45° support bars that I welded to each end of the cargo floor.
Oh yes, I cleaned and re-greased the bearings for the bottom bracket and put the crank back in.
HOWEVER, I don't yet have the steering rod attached ...
Which makes the bike a little awkward to move around.
(the handlebars just spin
and the front wheel goes any which way)
Friday, April 1, 2011
Steering Headset
Foundation for the cargo section.
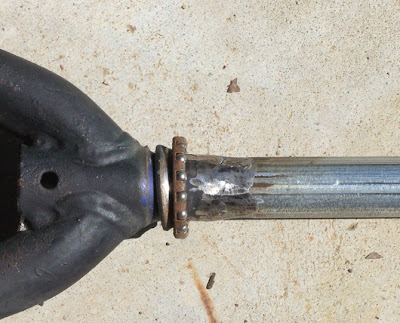
The top tube fits the headset cup. But the headset extension tube is larger in diameter than this tube ... so I cut a piece of 1/2" EMT tubing and split it down one side, cut across to make two pieces, then spread them open to make 1/2-moon pieces to go around and shim the larger tube. This centered the larger tub inside the headset extension tube.
Looking down inside the headset extension tube, you can see the end of the short piece of tubing that the cup fits into.
Looking from the side ... what you can't see are that the shims were even with the top of the headset tube extension, while the inner tube protruded 1/8" above. I then welded the inner tube to the outer tube. And tapped the cup into place. This allows for replacement of the cup and bearings as they wear.
This is the extended tubing for the headset.
It was cut, and a 3/4" EMT tubing was welded in between the two pieces.
Upper end
lower end.
If you can differentiate it from the parts in the background ...
There's the frame temporarily on wheels.
Another view from a rearward angle.
Gotta work on steering rod and brakes next.
Saturday, March 26, 2011
More Long-Tom Photos
Notice that one of the tubes welded above the bottom bracket (where the crank goes) is narrower than the other one. I had to flatten it so it wouldn't interfere with the gears. These welds look pretty good even without grinding. Ha!
Here are the two tubes that go around the extended headset tube.
The welding is almost decent.
I had lots of clamps trying to hold these tubes down by the bottom bracket so I could weld them. I welded them at the bottom bracket area, made adjustments in the line-up of the front end, then welded the tubes around the extended headset.
Instead of welding a tube on top of the platform tubes ... I welded it to that big tube underneath the platform.
The 1" diameter tube wouldn't bend to match-up, so I cut a wedge out of it, bent it, slid it into the big tube, and welded it in place.
Once all that was welded in place ...
I shortened the extended headset tube.
With a front wheel stuck on there ...
this is what it looks like at the moment.
I place my hands on the front cargo floor area and pressed down
until I had lifted myself off the floor ...
It didn't buckle under 245 lbs. of direct weight in that small area.
I think it will work as a cargo bike.
Friday, March 25, 2011
Long-Tom Frame Work
Hard to see much about it ... but there is the basic frame
I'll end up shortening the extension of the headset tube a bit.
The 20" front headset was slightly diagonal to the rear bicycle frame,
so I pushed a helper bar into the neck hole to tug with while I pushed
on the bottom of the forks ... and tweaked it into lining up.
Then I welded it down into place.
It's coming along.
More detail fotos tomorrow.
Saturday, March 5, 2011
Progress on Tom's Design
This piece of EMT conduit fits over the headset ...
extending it down below the cargo platform.
As I've said before ... I stick things together with my MIG welder and clean them up with the 4-1/2" grinder. Above is the extension for the headset. And it is solid.
No beautiful beads or even edges.
I just tack it, tack it some more ...
then try to fill in some of the gaps.
Friday, January 28, 2011
Slow Progress
I need to get 2 feet of 1-1/2" tubing
to connect to the headset of the rear bike.
So why am I dragging my feet?
Friday, December 31, 2010
Bakfiets Cargobike -- "Long John"
Tomscargobikes.com/BUILD_YOUR_OWN
On his website, Tom, tells how to make a simplified two-wheeled, Long John style, cargo bike. So, while I am waiting around to get the metal to make the cargobox for the other bike ... I cut up a couple of spares and started making this bakfiet cargobike.
This is from a little girls 20" bike. The two tubes connected to the headset are cut off just short of the seat tube. Then a wedge is taken out of the underside of the top tube so that it bends down parallel with the bottom tube ... narrower than 3/4" EMT tubing.
5 ft. lengths of EMT are bent at a 45 degree angle ... on my bender that looks closer to 60 degrees ... but according to the compass that I compared the tubes against, it was only 45 degrees. Maybe I need to re-check that and bend them some more ... hmmm??
Anyway, they are placed in the gap alongside the tubes connected to the headset ... and the whole thing will be welded (at least tacked) together. Now I need some 1-1/2" tubing to extend the headset on the rear frame.
Subscribe to:
Posts (Atom)


