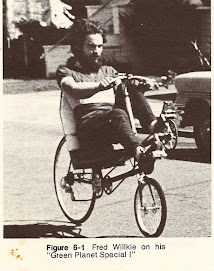
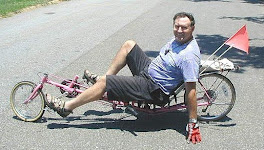
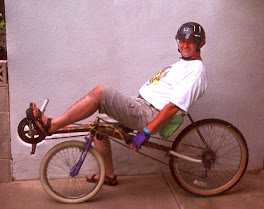
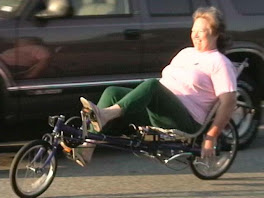
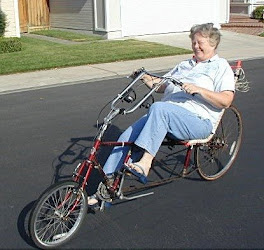
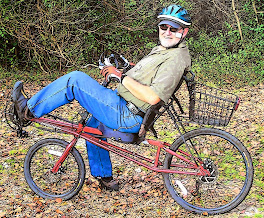
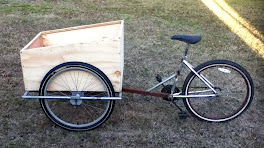
They aren't big, but they are the best I have available at this time. These are some of my first recumbents.
Bentech SWB - muffler pipe and the forks from a Huffy Mtn bike
Me on the Bentech SWB - the Bentech LWB was supposed to be my main bike, but this one became the one that I'd grab and ride much more often.
Bentech LWB - 4130 chromoly main tube
Bentech LWB - muffler pipe
Tour Easy clone - made from a Japanese 10-speed bicycle
Redondo LWB Lowracer - showing the intermediate jackshaft that makes this bike fly so fast!
Saturday, July 5, 2014
Large Cartoon Photo of my Sun EZ Speedster CX
This is a larger photo of me on my Sun EZ Speedster CX SWB recumbent.
The Sun Speedster is a very maligned bike.
My experience has been that a lot of bicycle shops didn't set them up correctly. Sun only sells to bicycle shops because they know that most owners have no idea how to properly set up and adjust their bikes. The problem was, the only information on how to properly set up the Speedster, was a photo on the Sun website. No written instructions. You had to pay really close attention to details in the photo.
The additional problem that a lot of riders had, was attempting to ride the Speedster with the handlebar stem poking up vertically (90 degrees to the ground). This makes for really squirrely handling. That's the position you have them in for getting on or off the bike. But to ride, you need to have the steering stem locked back closer to your body similar to that in the photo above. Then it handles very sedately.
So, due to the usual comedy of errors ... I was able to purchase my Speedster from a bicycle shop for only $400 (brand new). After setting it up properly, I've had many enjoyable years riding it!!
Re-modified Don's delta trike (sigh)
July 4th, 2014 - the owner (Don) was complaining that the main
tube was canted about 2 degrees to the right. So today we dismantled
it. We removed the rack, wheels and axles, the seat, and disconnected
the shifting cable. We inverted the frame, I was going to use a
hacksaw, but instead used the cutting wheel on the 4-1/2" hand grinder.
I cut from the bottom at the point where the main tube connects with
the rear unit ... but not quite all the way through ... just short of
the top re-enforcing plate. Cut the support tubes from the seat back
tube, and cut off the seat mount unit. So, with the main tube only
connected to the rear unit by the top re-enforcing plate, put it upside
down in a vise, checked for level on the main tube, then torqued
(twisted) the rear unit until it was level with the main tube. That
re-enforcing plate is pretty tough (1/8" thick) and with Don pushing up
on one side while I applied my weight pushing down on the other side.
It took us 3 attempts before we finally moved it enough to the proper
position. Then welded it back together. Adjusted and welded back on
the seat tube support tubes, welded on a new seat mount configuration
(with a little more rearward angle to the seat), and welded on a roller
to support the bottom return part of the chain so it doesn't hang down
and swing back and forth. Bolted the wheels, axles, and cargo rack back
on. Then we cable-tied a basket to the rear cargo rack for the owner
to put groceries in when he goes shopping ... or books when he goes to
the library. And finally hooked back up the shifter cable after making
an alignment adjustment to the rear derailleur mount.
I'm talking about being exhausted!
The above photo is the re-completed modified delta trike ...
This is the lower chain roller ... when forward pressure is placed on the pedals, the top part of the chain sits about an inch (2.5 cm) above the roller unit. There is a shield over the roller to keep the chain from hopping off the roller (had that problem before on another recumbent that I built).
Looking at the area where all the work was concentrated today. Right in the middle you can see the silver "top re-enforcing plate" in front of the rack (the plate I didn't cut through). This is where all the critical action took place.
In this photo, there is a better view of the seat mount (above the basket) ... and you can see the chain roller down in front of the seat.
Subscribe to:
Posts (Atom)


