Friday, March 20, 2009
Tuesday, March 17, 2009
Building Seat Support -- Twice
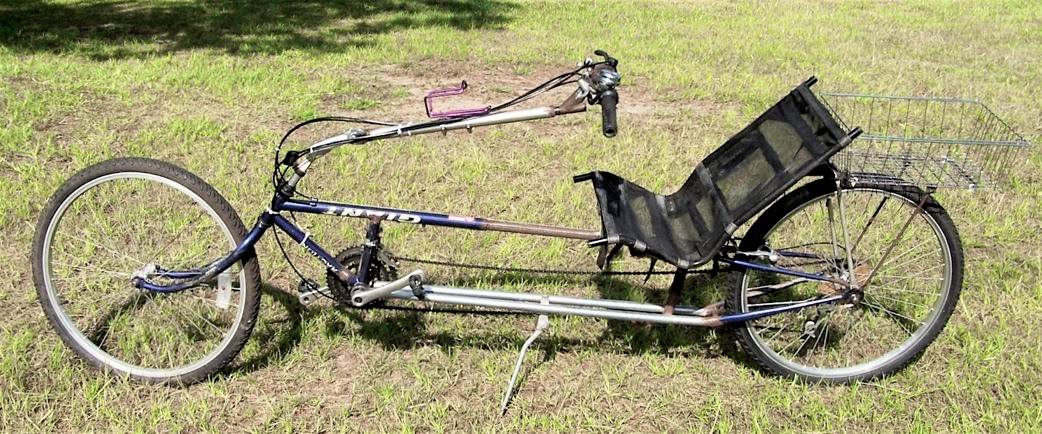
 I made this seat support piece and mounted it on the frame.
Then I stood out to the side and looked at it ...
Then I went inside and brought out a long length of chain ...
Put the chain around the large gear on the back and stretched it up over the top chain roller ... there's a problem ... it's pushing upward against the seat support unit.
 I also saw that I couldn't mount the brakes on the top of the frame ...
same problem -- chain conflict.
Which means I'll have to adjust the rear dropouts forward ...
I haven't welded them on yet.
 Here are the two seat support units side-by-side.
The one on the right will provide enough chain clearance.
If you are wondering what all the little tack-welds are for ...
I found that if I use a single layer of EMT tubing,
it bends when you sit in the seat and move side-to-side.
So, I split the tube down the center ... took one half and using a hammer to tap on it on a round section of tubing. This flairs the outside piece so that it will fit snugly against the other half. Then I tack-weld them together and they make a much more rigid seat support tube.
Friday, March 13, 2009
Saturday, March 7, 2009
Start of Rear Forks
 Here the main tube is clamped in the jig.
The black forks on the left will be used for rear forks.
Notice that I cut the head tube off about 3/8's inches below the bottom bearing support. This is so that I can use it for a steering unit in another project. And leaves enough room to weld the tab on it below the bearing to connect to the front forks.
 I still have to mark and drill the holes near the rear of the main tube (on your right in this foto) ... and build the block to hold the axle-end of the forks in position when I clamp the main tube on the other side of the jig to weld the forks to it at the proper angle (those two empty "u" blocks over there will hold the main tube with the bottom bracket hanging downward over the right end).
Friday, March 6, 2009
All but the rear forks
 Here's the view from head on ...
You can see the front forks (purple), Bottom Bracket for the front crank (silver), the front derailleur post (blue), and the chain rollers (red).
Subscribe to:
Posts (Atom)


